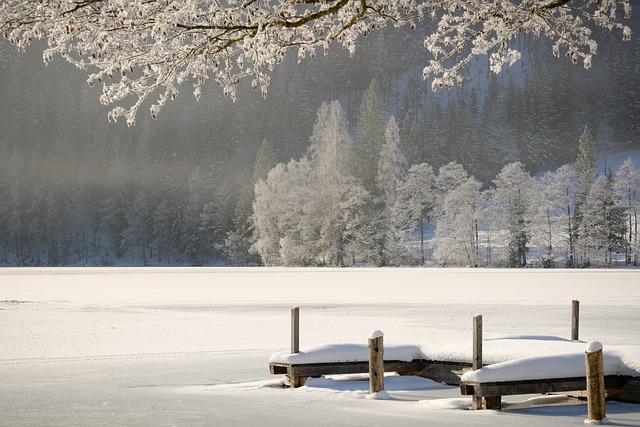
Outdoor plumbing fixtures require year-round care, especially during winter. Freezing temperatures pose a risk of pipes bursting or sustaining permanent damage due to expansion and contraction. Pipe insulation is a proven solution, creating a protective barrier to maintain consistent temperature and prevent freezing. Homeowners can safeguard their outdoor spaces and avoid costly repairs by insulating pipes thoroughly, ensuring integrity throughout the season.
Winterizing outdoor plumbing fixtures is essential to prevent damage from freezing temperatures. This guide covers everything you need to know, from understanding the vulnerabilities of outdoor plumbing to the vital role of pipe insulation. We provide a step-by-step process for preparing your fixtures and offer additional tips for maintaining outdoor pipes during cold months. By following these strategies, you’ll ensure your outdoor plumbing remains in top condition, saving you time and money in the long run. Remember, proper insulation is key to protecting your investment.
- Understanding Outdoor Plumbing and its Vulnerability to Winter Damage
- The Role of Pipe Insulation in Protecting Your Outdoor Fixtures
- Step-by-Step Guide to Winterizing Your Outdoor Plumbing
- Additional Tips for Maintaining Outdoor Pipes During Cold Months
Understanding Outdoor Plumbing and its Vulnerability to Winter Damage
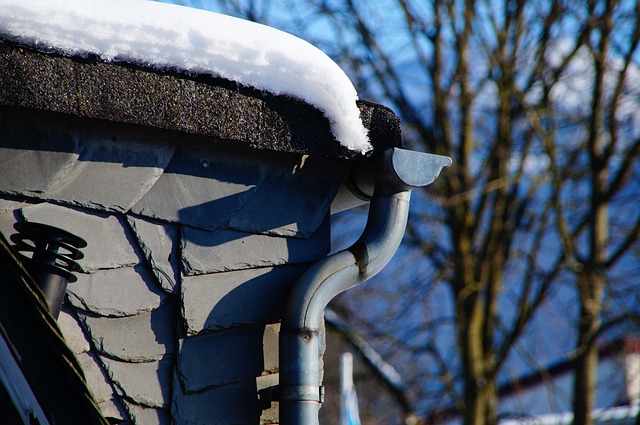
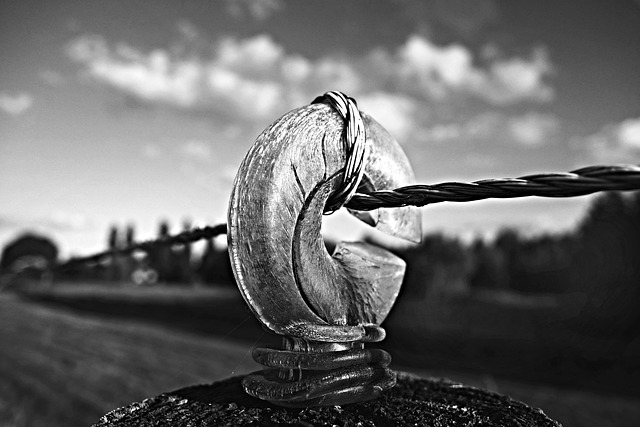
Outdoor plumbing fixtures, including sprinkler systems, garden hoses, and outdoor faucets, are integral parts of many homes, providing access to water for various activities throughout the year. However, they are also vulnerable to damage during winter months when temperature drops significantly. Extreme cold can lead to freezing, which in turn causes pipes to expand and contract, potentially resulting in bursts. This is especially true for areas with subzero temperatures where water within pipes may freeze solid, leading to costly repairs or even permanent damage.
Properly preparing these fixtures for winter is crucial to prevent such issues. One effective measure is using pipe insulation to shield pipes from extreme cold. By insulating outdoor plumbing, you create a protective barrier that maintains a consistent temperature, minimizing the risk of freezing and bursting. This simple step can save homeowners from unexpected repair bills and ensure their outdoor spaces remain functional during the winter season.
The Role of Pipe Insulation in Protecting Your Outdoor Fixtures

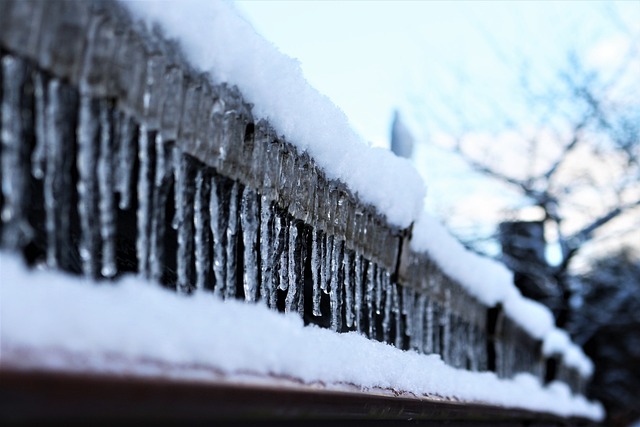
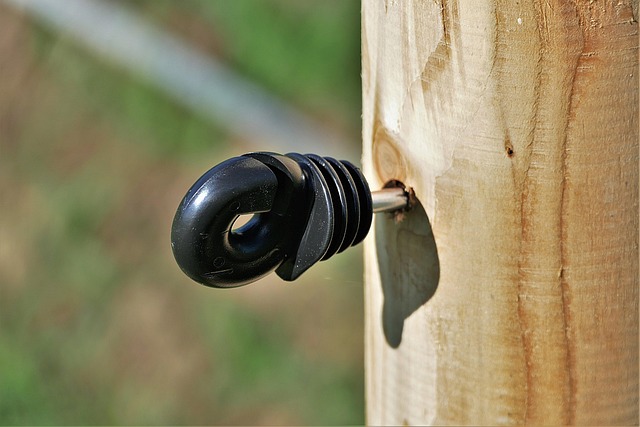
Pipe insulation plays a crucial role in protecting your outdoor plumbing fixtures from the harsh winter conditions. As temperatures drop, pipes can freeze and expand, leading to potential bursts and significant damage. Insulation acts as a barrier, maintaining a consistent temperature inside the pipes and preventing freezing. It’s especially important for exposed pipes near exterior walls, foundations, or other vulnerable areas.
Choosing the right pipe insulation is essential. Look for products designed for outdoor use that are durable and resistant to moisture and extreme temperatures. Properly installed insulation should cover pipes entirely, creating a continuous protective layer. This simple step can save you from costly repairs and ensure your outdoor fixtures remain in top condition throughout the winter season.
Step-by-Step Guide to Winterizing Your Outdoor Plumbing
Winterizing your outdoor plumbing fixtures is a crucial step to protect your pipes from freezing temperatures and potential damage. Here’s a simple, step-by-step guide to ensure your outdoor plumbing survives the winter.
1. Identify all outdoor plumbing fixtures: Start by locating every faucet, sprinkler head, and other water outlets outside your home. This includes those in your garden, garage, or patio.
2. Disconnect and drain water: Turn off the main water supply valve to your house (usually located near the street) to prevent any remaining water from freezing inside the pipes. Then, disconnect each outdoor fixture and drain any standing water. Use a bucket or garden hose to remove excess water from pipes, ensuring no puddles form around fixtures during freezing weather.
3. Apply pipe insulation: For pipes that remain exposed, use pipe insulation to provide an extra layer of protection. Insulation helps maintain a consistent temperature, preventing pipes from freezing. Wrap insulation around each pipe, securing it with tape or clamps, and ensure the insulation is in direct contact with the pipe for maximum effectiveness.
4. Protect faucets and spigots: For outdoor fixtures that are particularly vulnerable to freezing, consider using foam protectors or thermal covers. These covers fit over the faucet and create a barrier against cold air, further reducing the risk of freezing.
5. Insulate exposed water lines: If your pipes run along exterior walls or under ground without insulation, consider adding heat tape or electrical heating cables. These products provide an additional layer of warmth to prevent pipes from freezing in even the coldest conditions.
Additional Tips for Maintaining Outdoor Pipes During Cold Months
To ensure your outdoor pipes remain intact during cold months, consider additional measures beyond draining and sealing them. Pipe insulation is an effective way to prevent water from freezing inside pipes, which can lead to bursts. Wrapping pipes with insulation material, available at most hardware stores, provides a barrier against extreme temperatures. This is especially crucial for pipes exposed to direct sunlight or in areas where temperatures drop below freezing frequently.
Additionally, insulate your outdoor faucet and sprinkler heads to avoid damage from frost formation. You can purchase foam or rubber insulation covers designed specifically for these fixtures. Another tip is to keep the area around pipes clear of debris and leaves, as snow accumulation can trap heat, causing pipes to freeze more quickly. Regularly checking outdoor pipes for any signs of damage or leaks during cold snaps can also help prevent major issues down the line.